Repotting seems intimidating if you’ve never done it, but it’s one of the most important things you can do for your plants. A plant stuck in the same soil for years is like wearing shoes two sizes too small — it might survive, but it definitely isn’t comfortable.
I repot most of my plants every 1-2 years, and the growth difference is always noticeable. Fresh soil means fresh nutrients, more root space means bigger growth, and it’s also your chance to inspect for hidden problems like root rot.
When to Repot: 6 Signs Your Plant Needs It
- Roots growing out of drainage holes — the most obvious sign
- Water runs straight through — the soil is so compacted or root-filled that water can’t absorb
- Plant is top-heavy — keeps tipping over because the root system can’t support the plant
- Roots circling the inside — if you can see roots pressed against the pot walls, it’s time
- Growth has stalled — despite good light, water, and feeding, the plant isn’t growing
- It’s been 2+ years — even if none of the above apply, soil nutrients deplete over time
When NOT to Repot
- Winter — most plants are dormant and repotting stresses them
- While flowering — the plant’s energy is going to flowers, not root recovery
- If the plant is sick — fix the health issue first (unless the problem IS the soil/roots, like root rot)
- Right after buying — let the plant acclimate for 2-4 weeks before disturbing it
What You’ll Need
- New pot (1-2 inches larger in diameter)
- Fresh potting soil appropriate for your plant
- Drainage material (optional: small rocks or clay shards)
- Trowel or large spoon
- Clean scissors or shears
- Newspaper or tarp to catch mess
- Watering can
Step-by-Step Repotting
Step 1: Prepare
- Water the plant the day before — moist roots handle the transition better
- Lay newspaper or a tarp on your work surface
- Prepare your new pot: add a thin layer of soil to the bottom
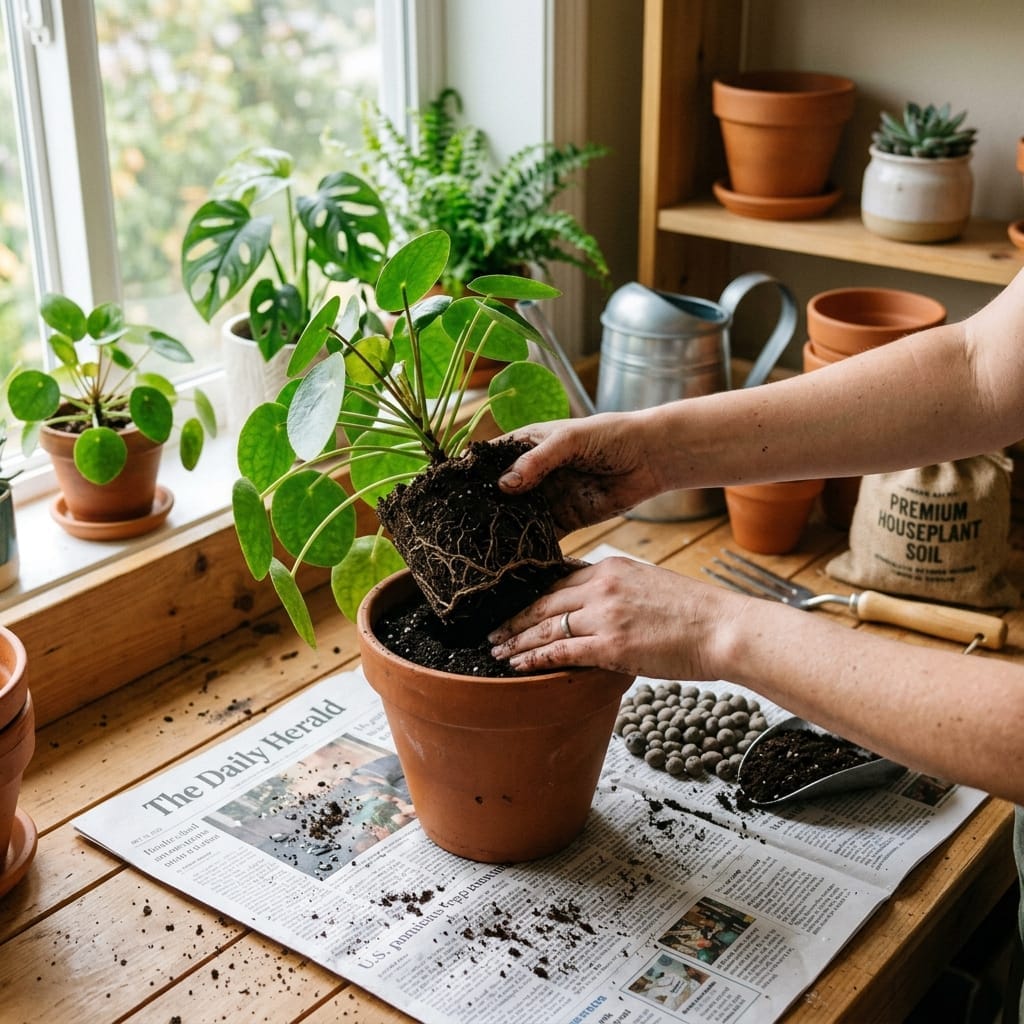
Step 2: Remove the Plant
- Turn the pot sideways and gently squeeze the sides to loosen
- Hold the base of the plant and slide it out
- If stuck, run a butter knife around the inside edges
- Never pull by the stem — this damages the plant
Step 3: Inspect and Prep Roots
- Shake off old soil gently
- Inspect roots: trim any brown, mushy, or dead roots with clean scissors
- If root-bound (tightly circling), gently tease apart the outer roots or make 3-4 vertical scores
Step 4: Position in New Pot
- Add enough soil so the plant sits at the same depth as before
- Center the plant in the new pot
- Fill around the sides with fresh soil, pressing gently to eliminate air pockets
- Leave about 1 inch of space from the soil surface to the pot rim (for watering)
Step 5: Water and Settle
- Water lightly to settle the soil
- Add more soil if it settles significantly
- Place in the plant’s normal location (avoid direct sun for a few days)
Choosing the Right Pot
Material Comparison
| Material | Pros | Cons | Best For |
|---|---|---|---|
| Terracotta | Breathable, dries fast, affordable | Heavy, breakable, dries quickly | Overwater-prone plants (snake, ZZ) |
| Ceramic (glazed) | Beautiful, retains moisture | Heavy, less breathable | Moisture-loving plants (calathea, fern) |
| Plastic | Lightweight, cheap, retains moisture | No breathability, looks cheap | Plants that like consistent moisture |
| Self-watering | Reduces watering frequency | Can promote root rot in some plants | Busy plant parents |
The #1 non-negotiable: Drainage holes. Every pot MUST have at least one. No exceptions. No amount of “drainage layer” rocks at the bottom will substitute for actual drainage holes.
For detailed recommendations, see our best pots for indoor plants guide.
Choosing the Right Soil
Different plants need different soils:
| Plant Type | Soil Mix | Why |
|---|---|---|
| Snake plant, ZZ, succulents | Cactus/succulent mix + perlite | Fast drainage, prevents rot |
| Pothos, philodendron, monstera | Potting mix + perlite (2:1) | Balanced drainage and moisture |
| Calathea, fern, peace lily | Potting mix + peat (retains moisture) | Consistent moisture |
| Orchids | Orchid bark mix | Maximum airflow around roots |
For in-depth soil info, see our best soil for snake plants guide.
Aftercare: The First Two Weeks
- Don’t fertilize for 2-4 weeks. Fresh soil has plenty of nutrients, and fertilizer can burn stressed roots.
- Keep in normal light but avoid direct sun for the first few days.
- Some leaf drop is normal — the plant is adjusting. Don’t panic.
- Water carefully — check soil moisture before watering. The new, unrooted soil may retain more moisture than expected.
- Don’t repot again if things look rough. Give it time.
Product Recommendations
1. Terracotta Pots with Saucers
Classic, breathable pots perfect for most houseplants. This set includes multiple sizes.
🏺 Get Terracotta Pots2. Premium Potting Mix
All-purpose indoor potting mix suitable for most houseplants.
🌱 Get Potting Mix3. Perlite for Drainage
Mix into any soil for improved drainage — essential for root health.
💧 Get PerliteFAQs
How do I know when my plant needs repotting? Roots out of drainage holes, water running straight through, top-heavy plant, stalled growth, or it’s been 2+ years.
What time of year should I repot? Spring is ideal. Avoid winter. Summer is acceptable.
Should I go up one or two pot sizes? One size (1-2 inches larger). Too large = excess moisture = root rot risk.
Should I water before or after? Water the day before. Water lightly after. Wait for soil to dry before the next watering.
Do I need to break up the root ball? Yes, if root-bound. Gently tease roots apart or make shallow vertical cuts.
Happy growing! 🌿